Introduction
Before being invited to participate in this project, I had spent many years building viols modelled on 17th and 18th century English and French originals and Italian-inspired medieval fiddles, based chiefly on iconography, but I had barely touched on Renaissance viols. I was planning to build a Renaissance viol combining iconography and my experience in medieval fiddle construction – I wanted to move forward from the medieval, rather than backward from the baroque, but hadn’t found the time or the occasion. Happily, Thilo Hirsch made the perfect offer with this “Ganassi project”.
Here are a couple of examples of my earlier work that were of use to me in working on the Ganassi viol:
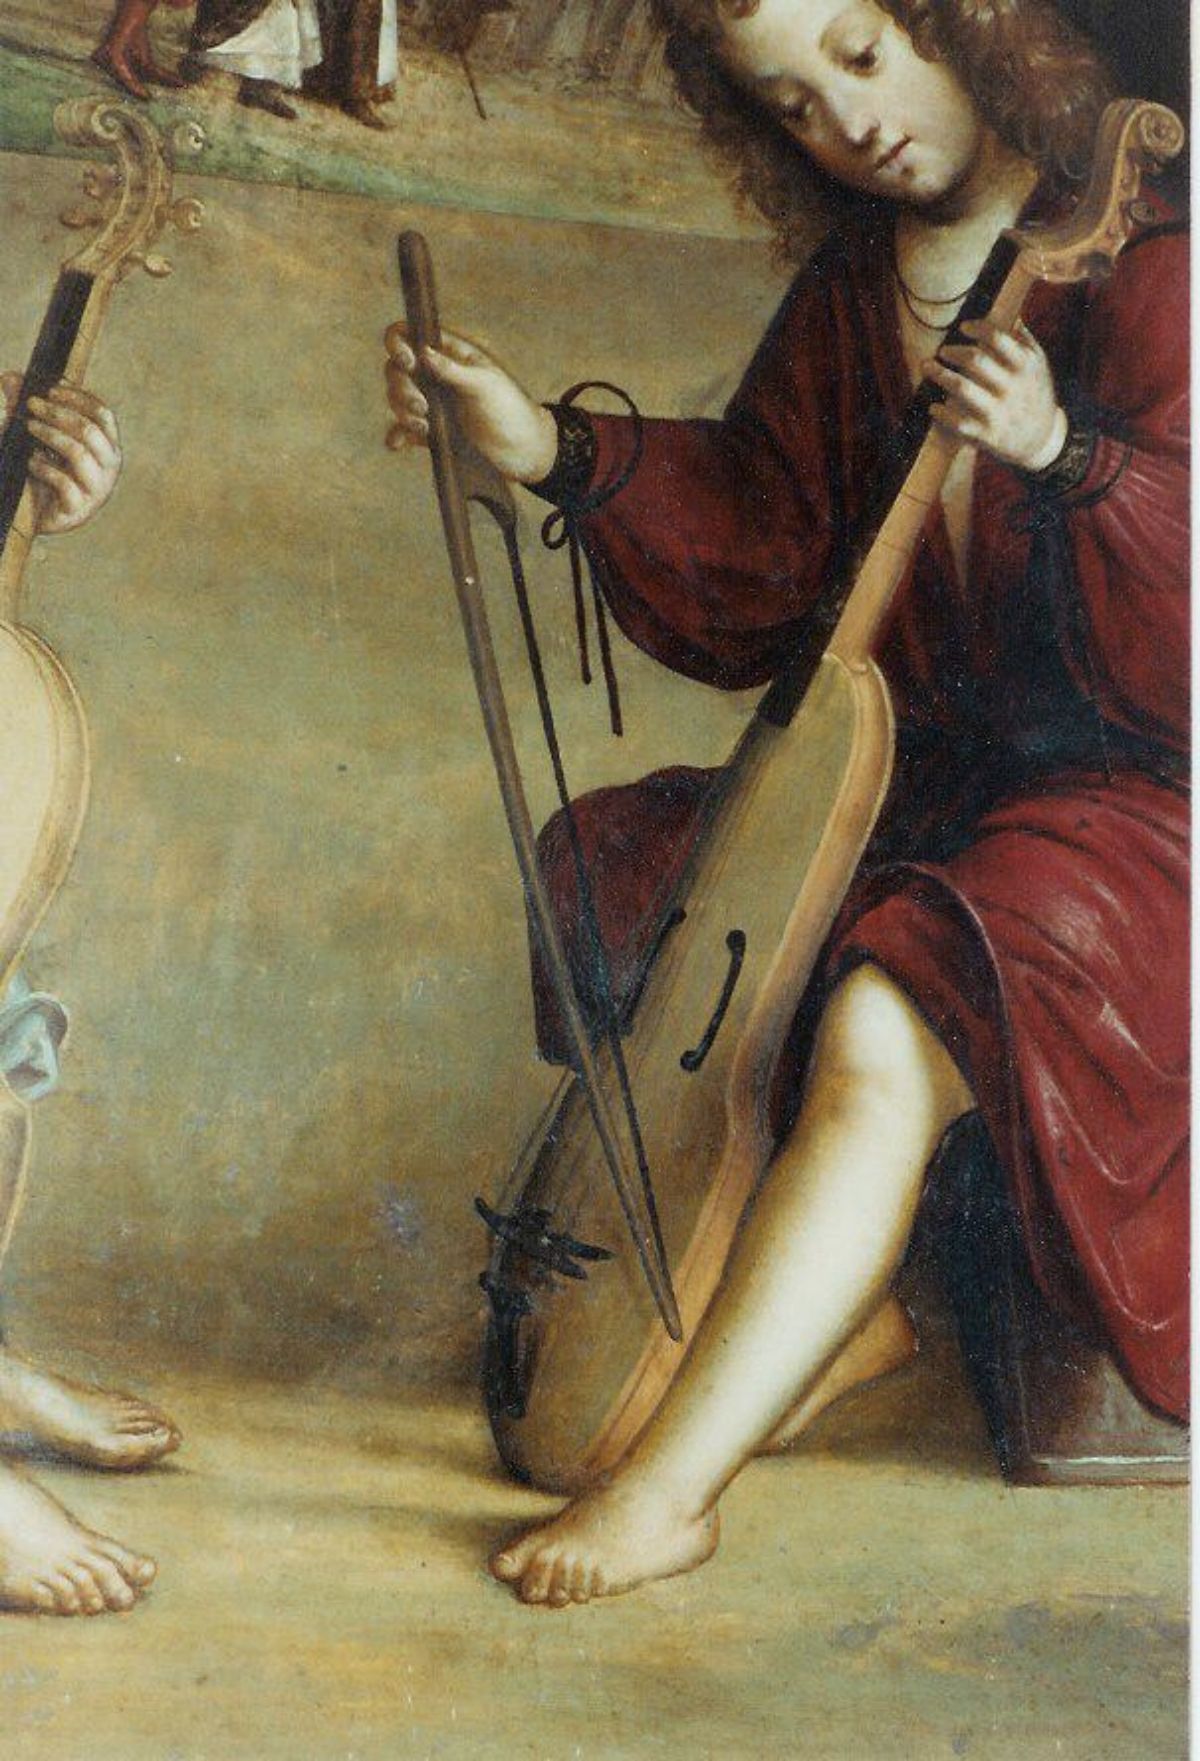
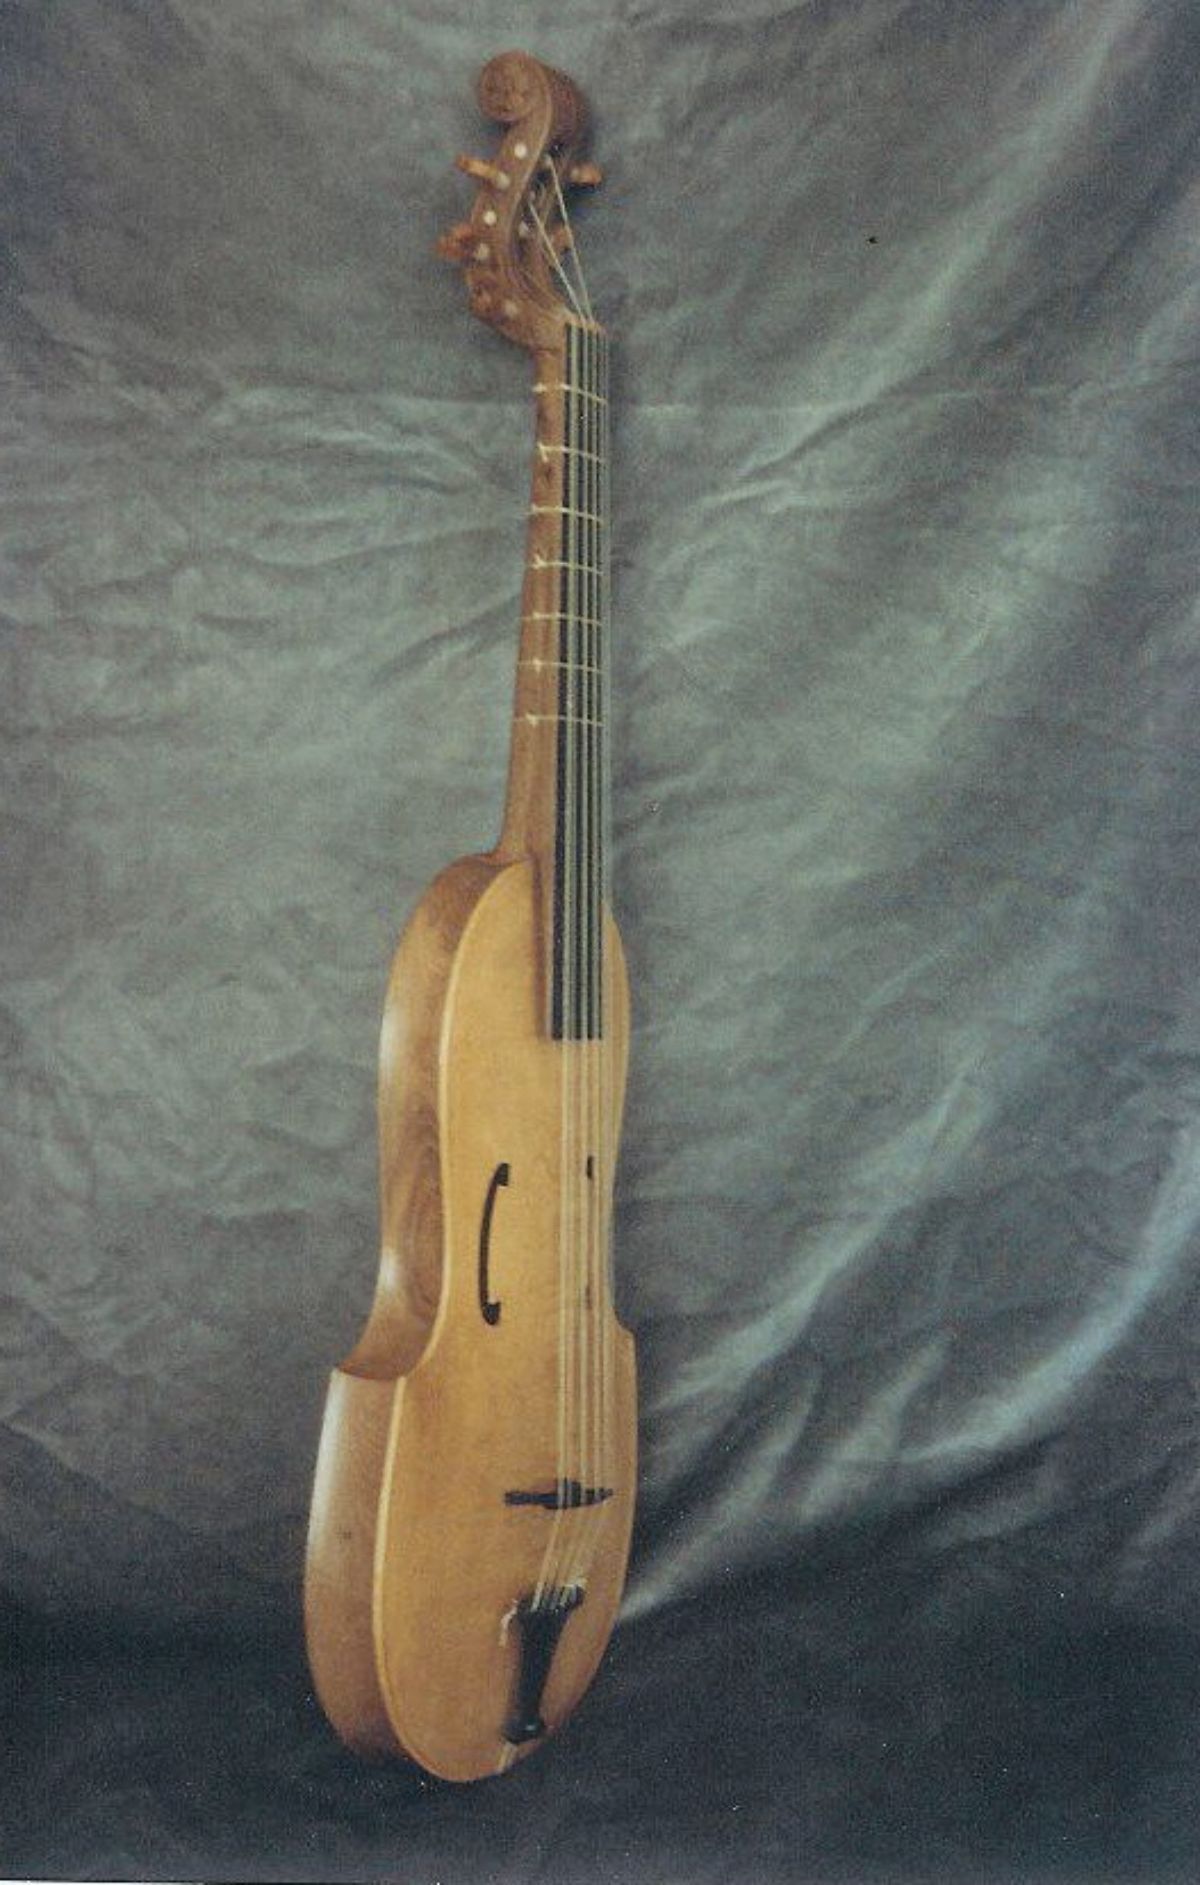
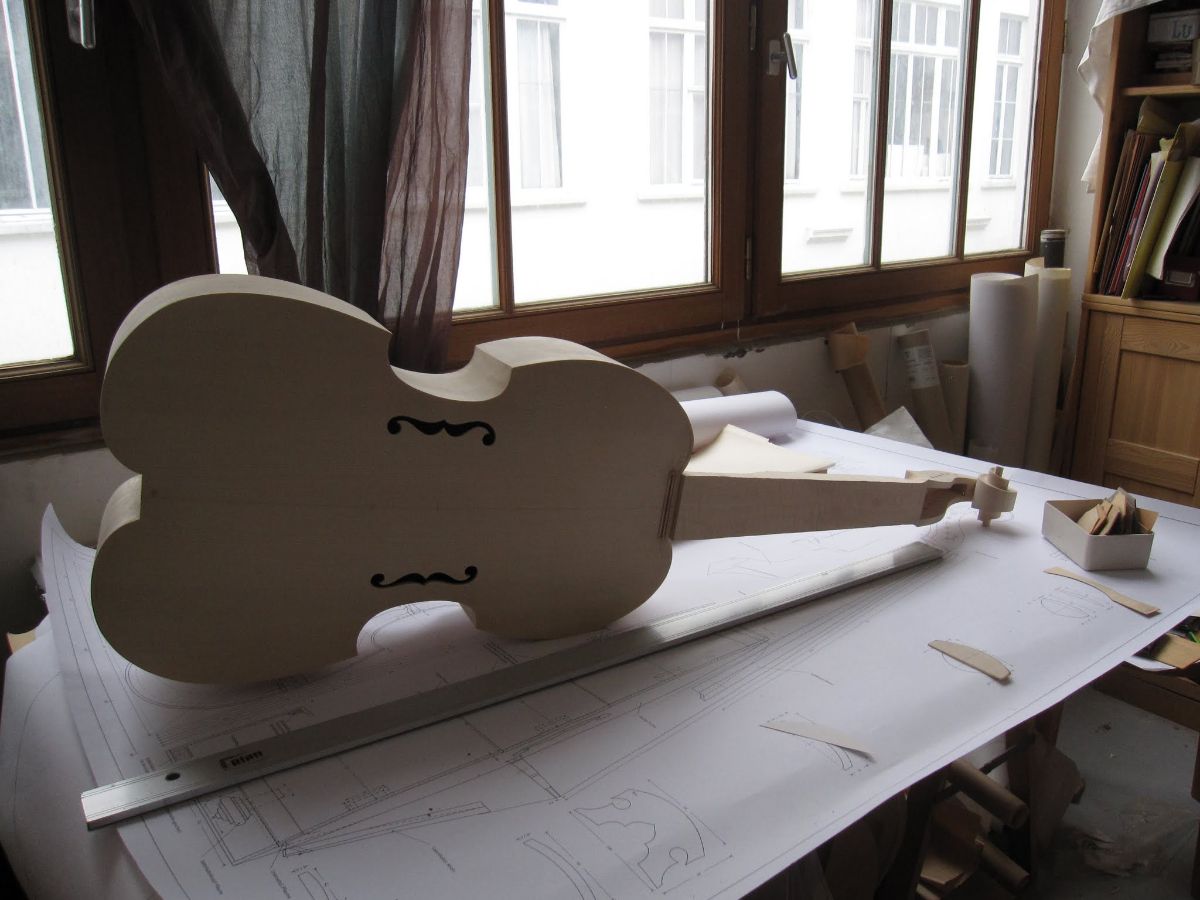
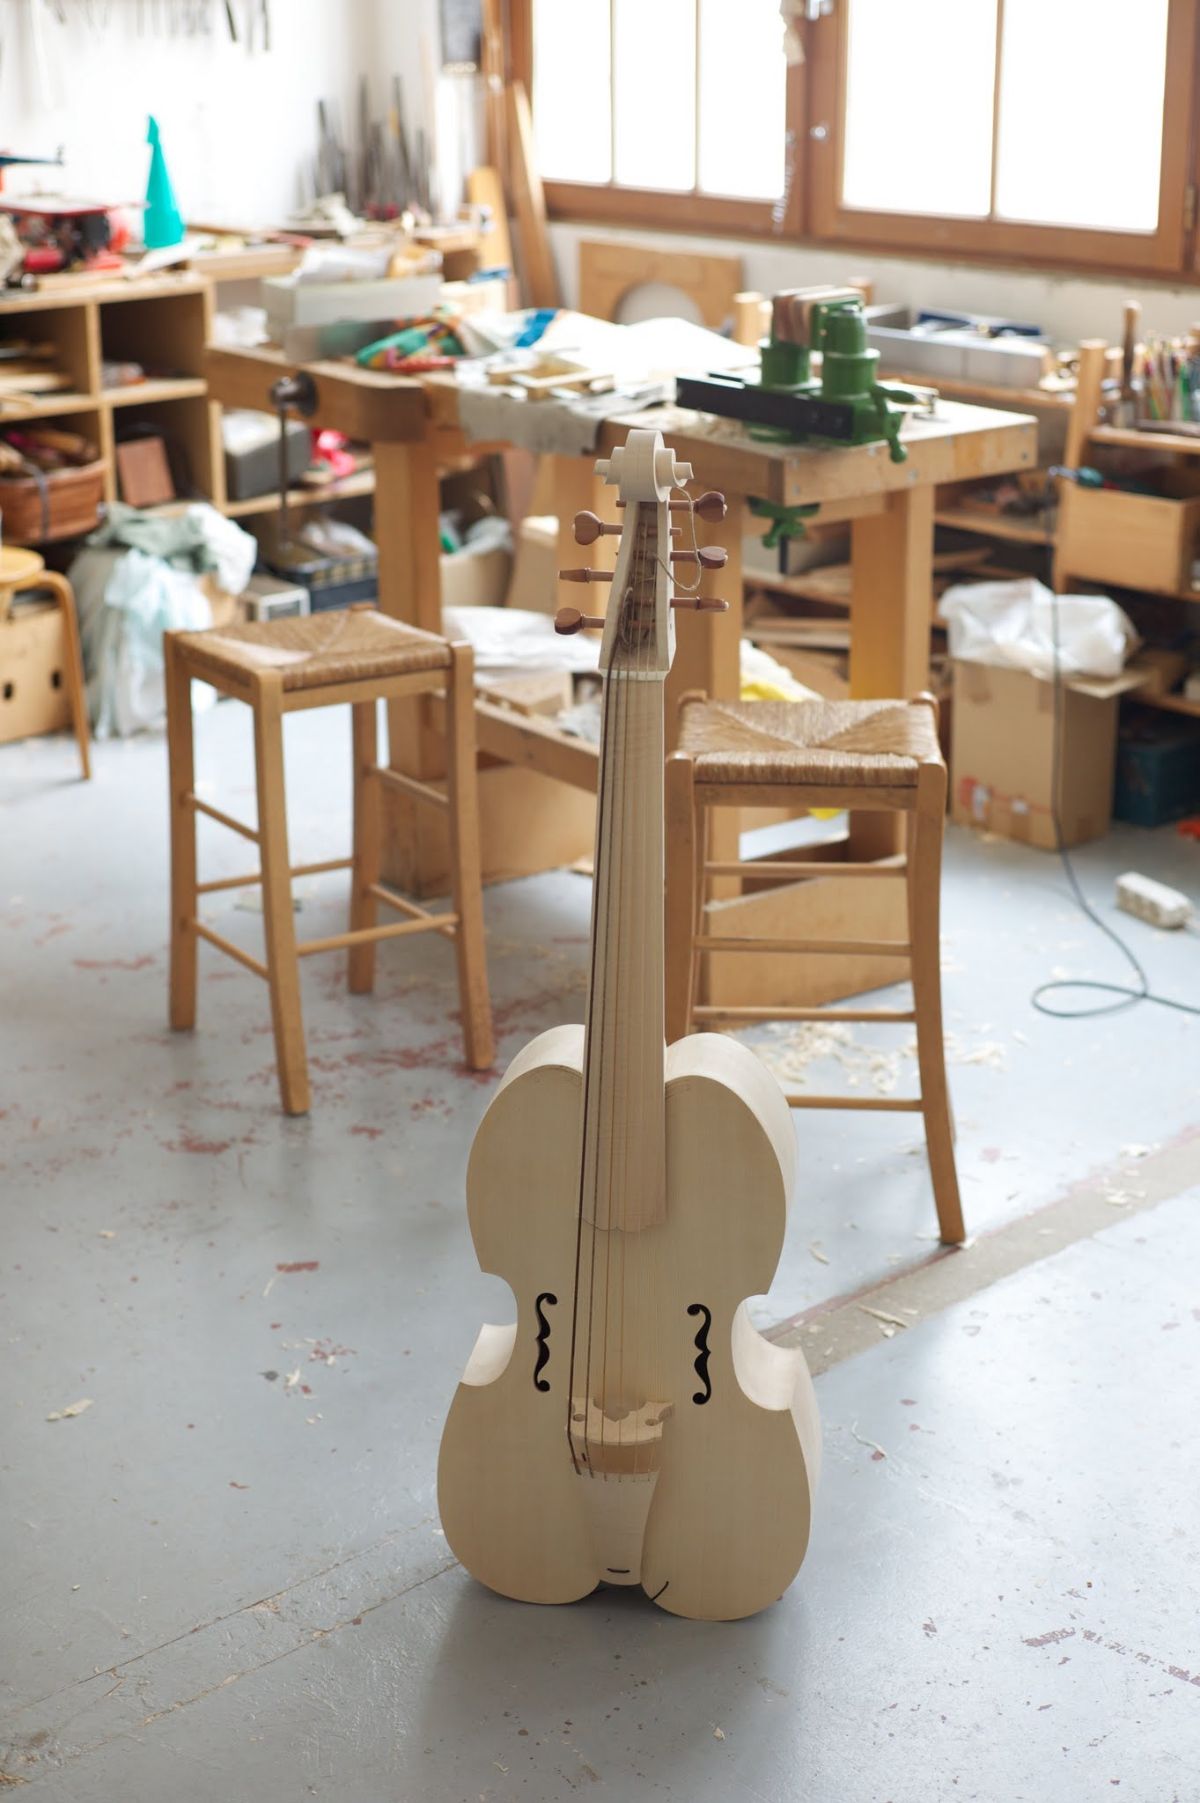
I built a viol based on the ones – there are two – in the Bologna altarpiece painted by Lorenzo Costa in 1497, with the following characteristics:
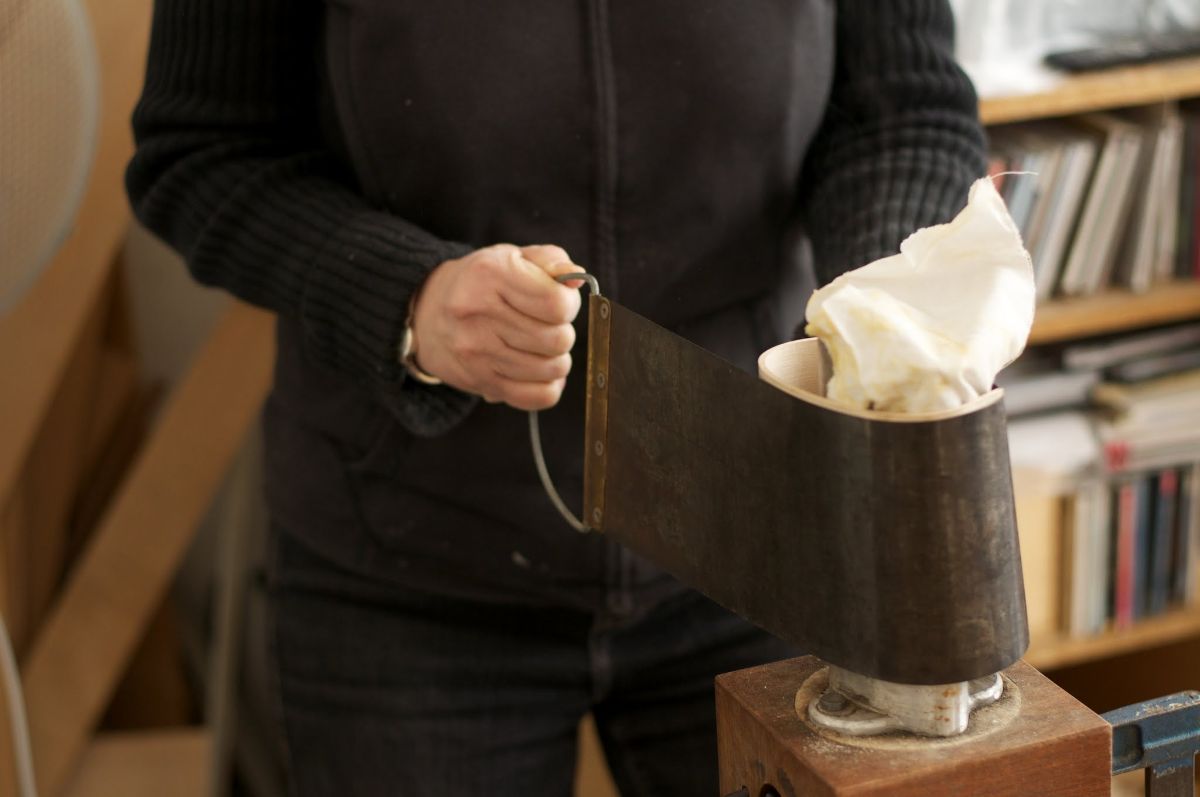
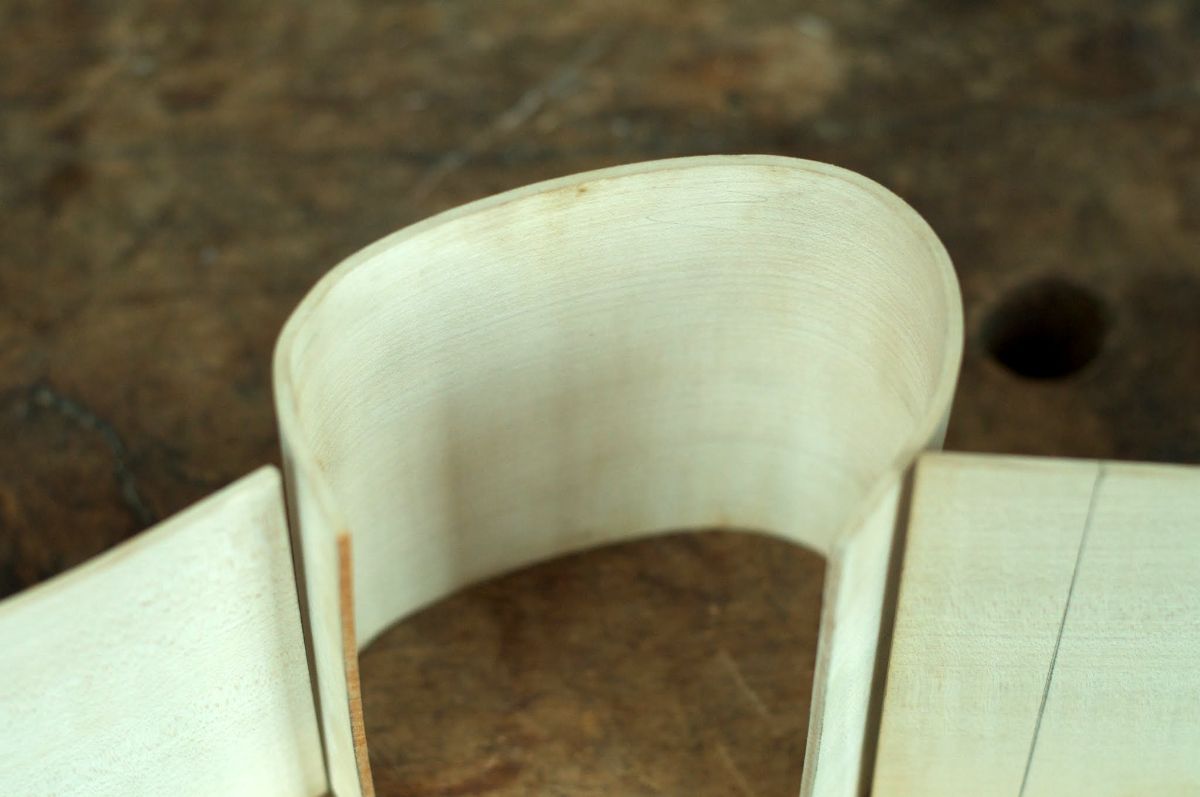
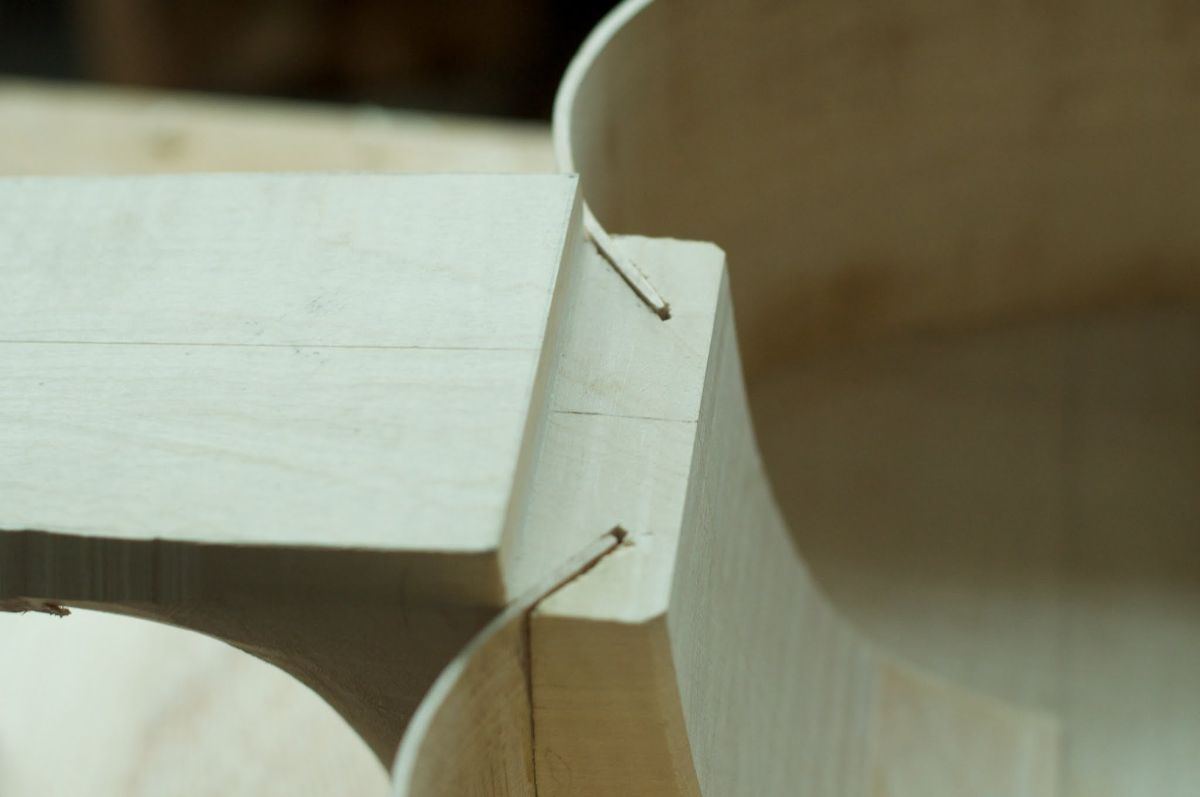
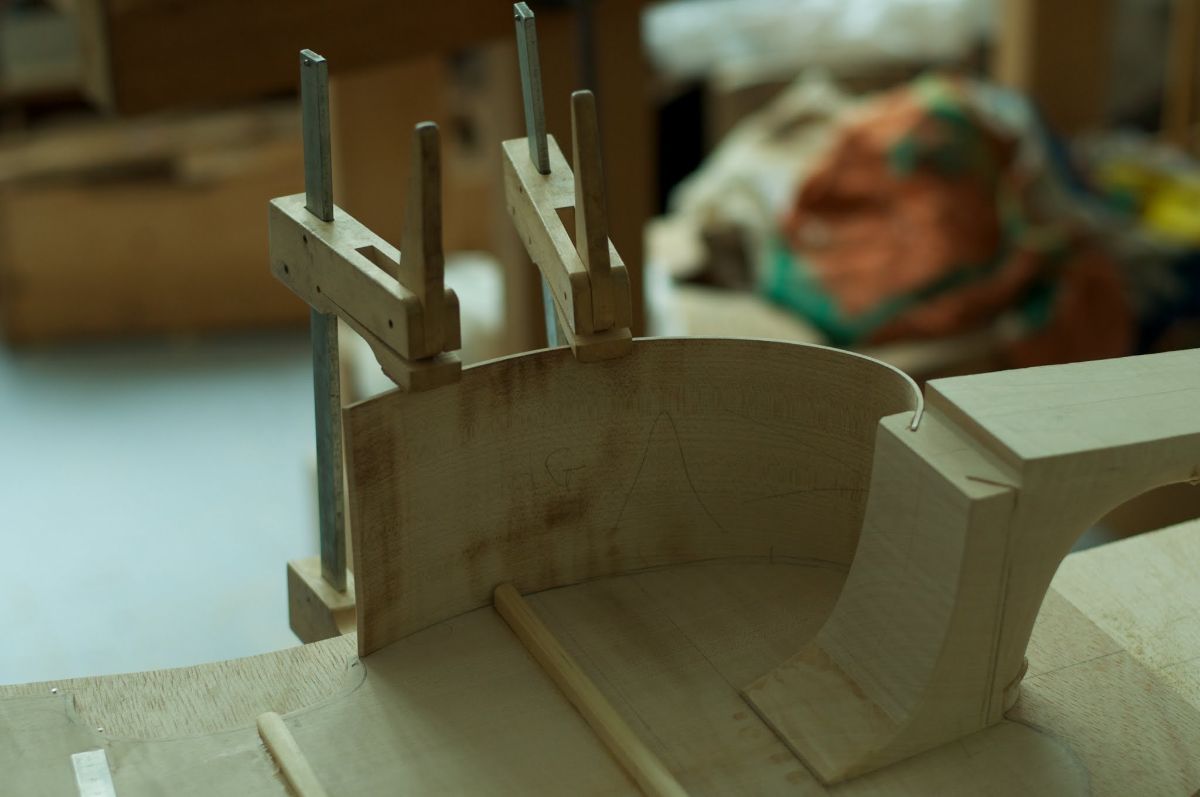
- low ribs, cut out rather than bent, with concave curve
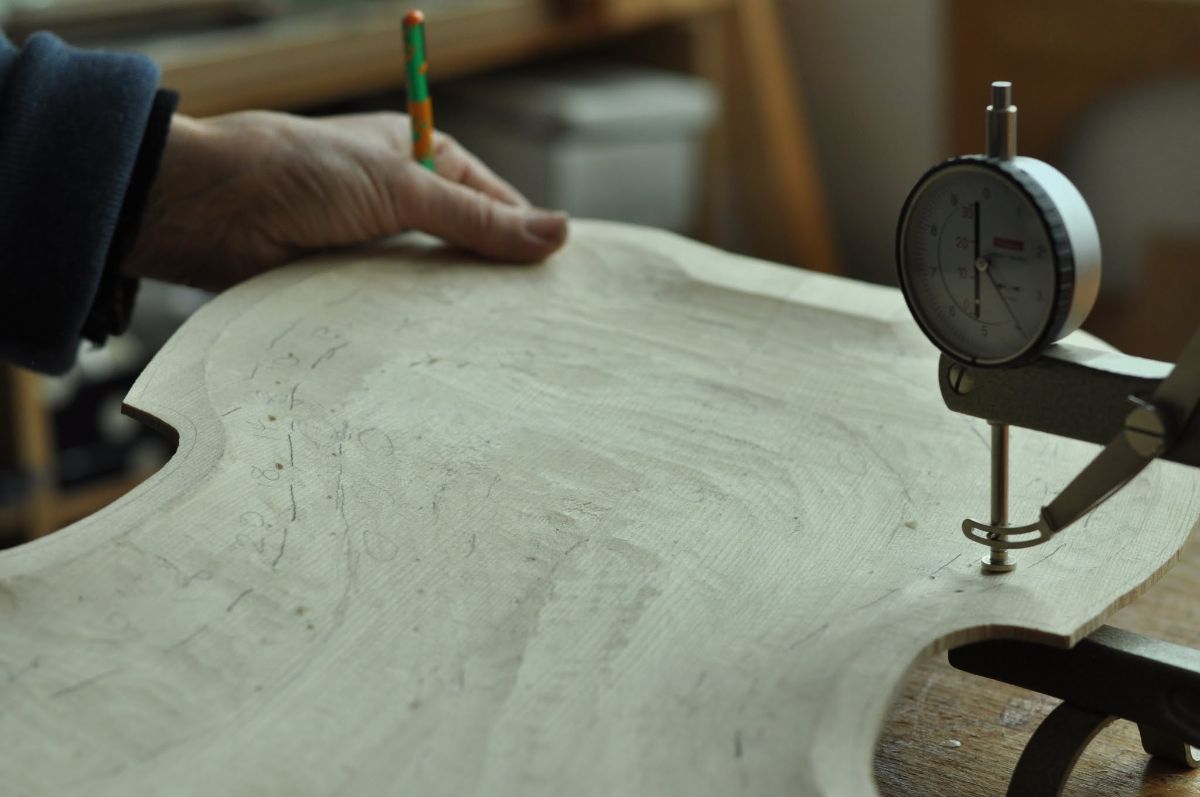
- carved top, thicker down the middle and on the bass side, but not on a diagonal
- back slightly arched
- no bracing
- body of walnut (it could be another wood)
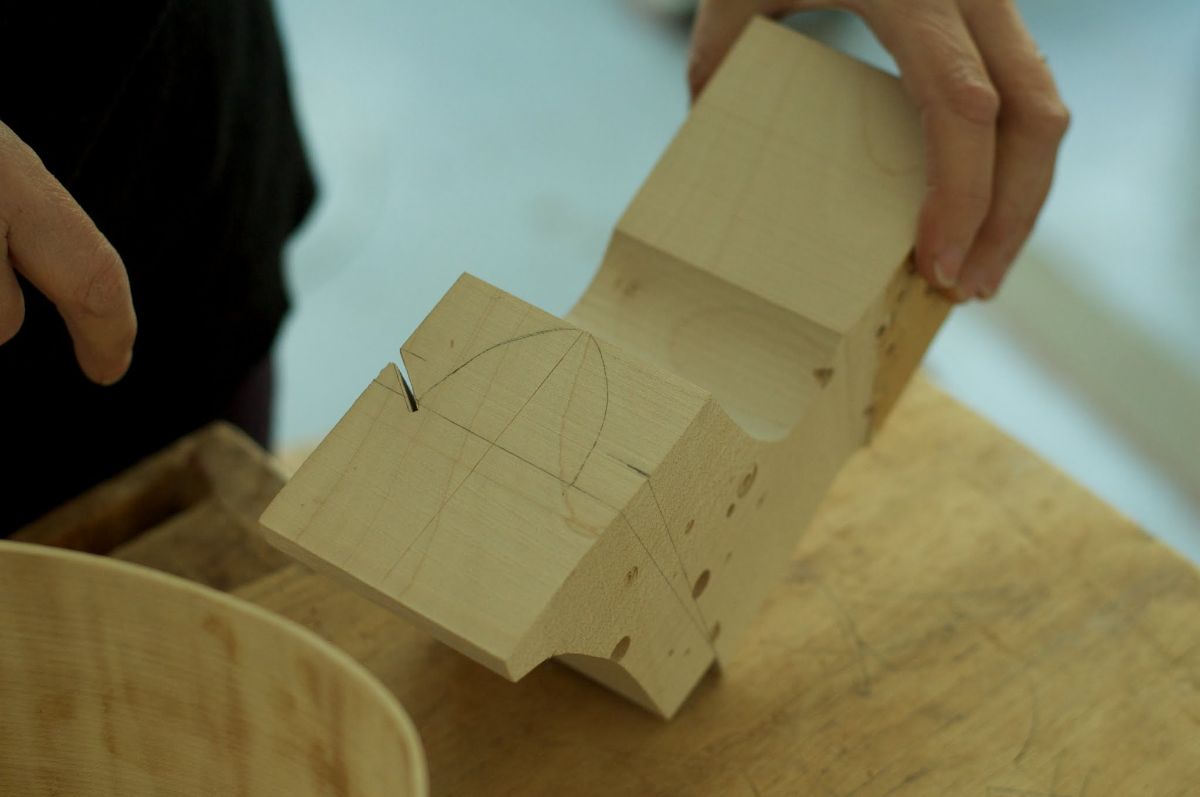
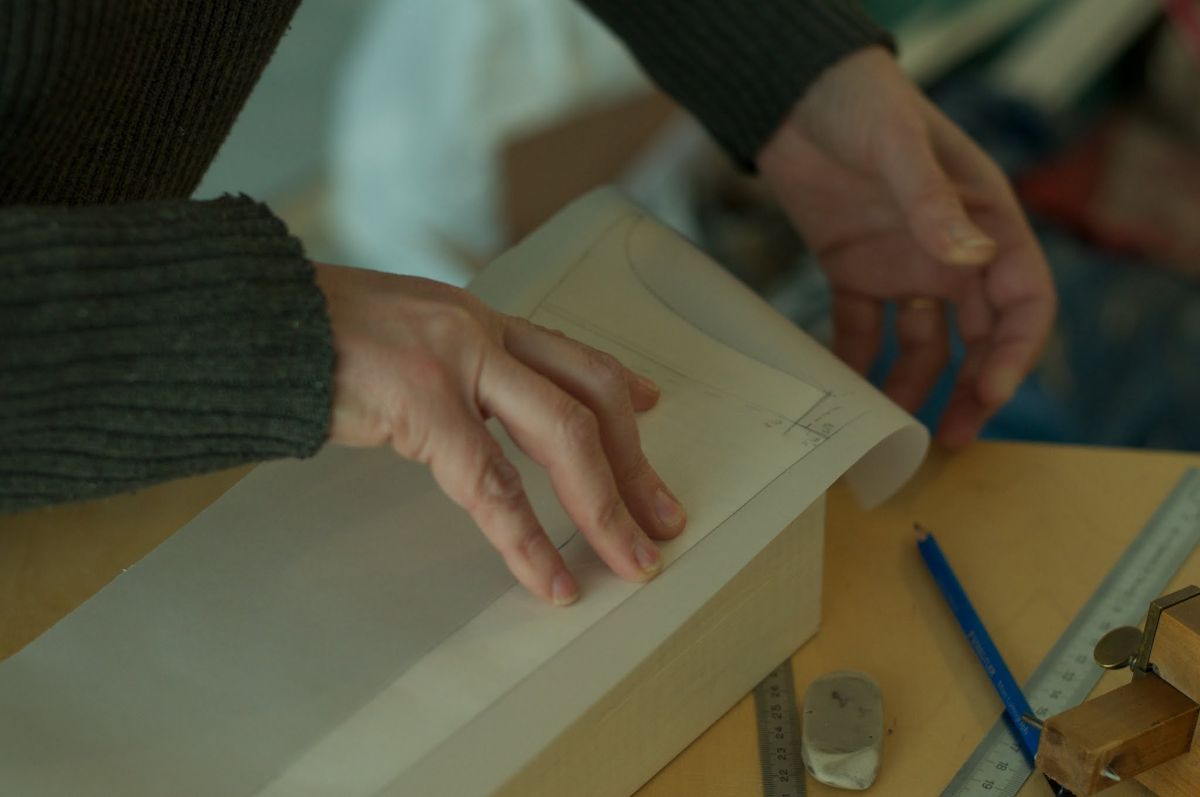
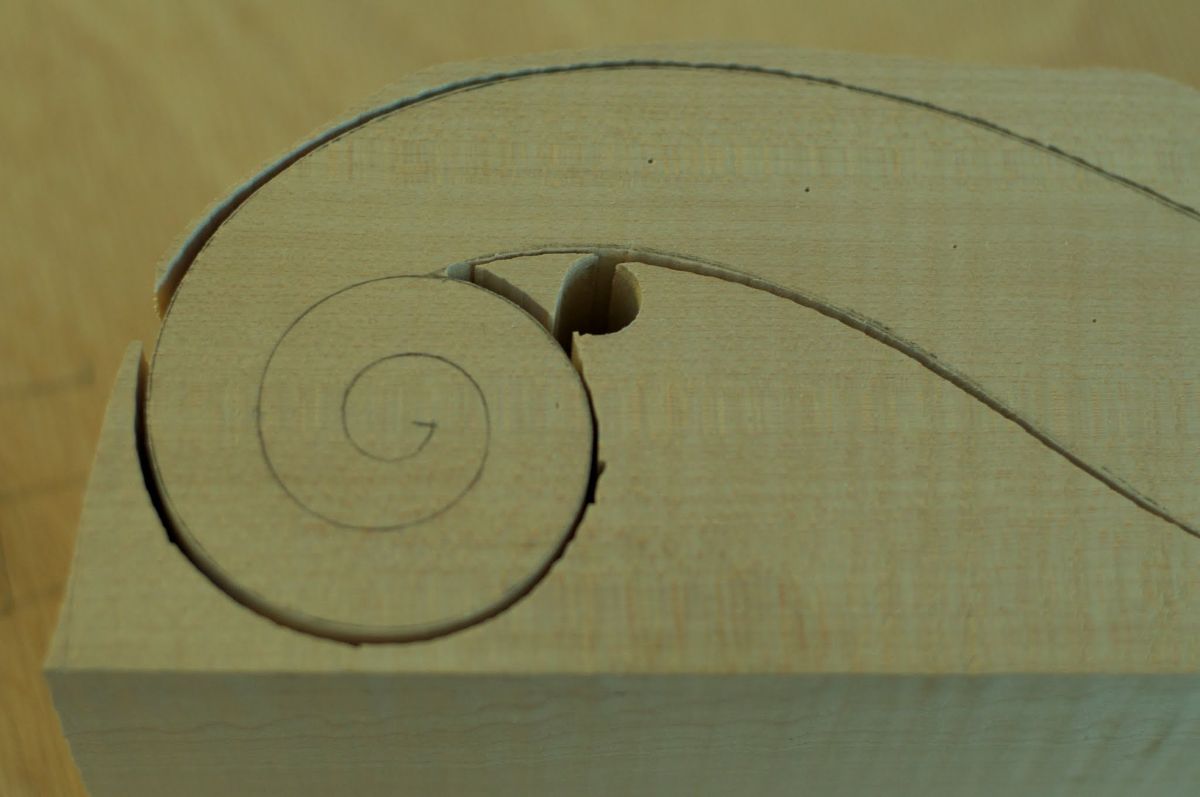
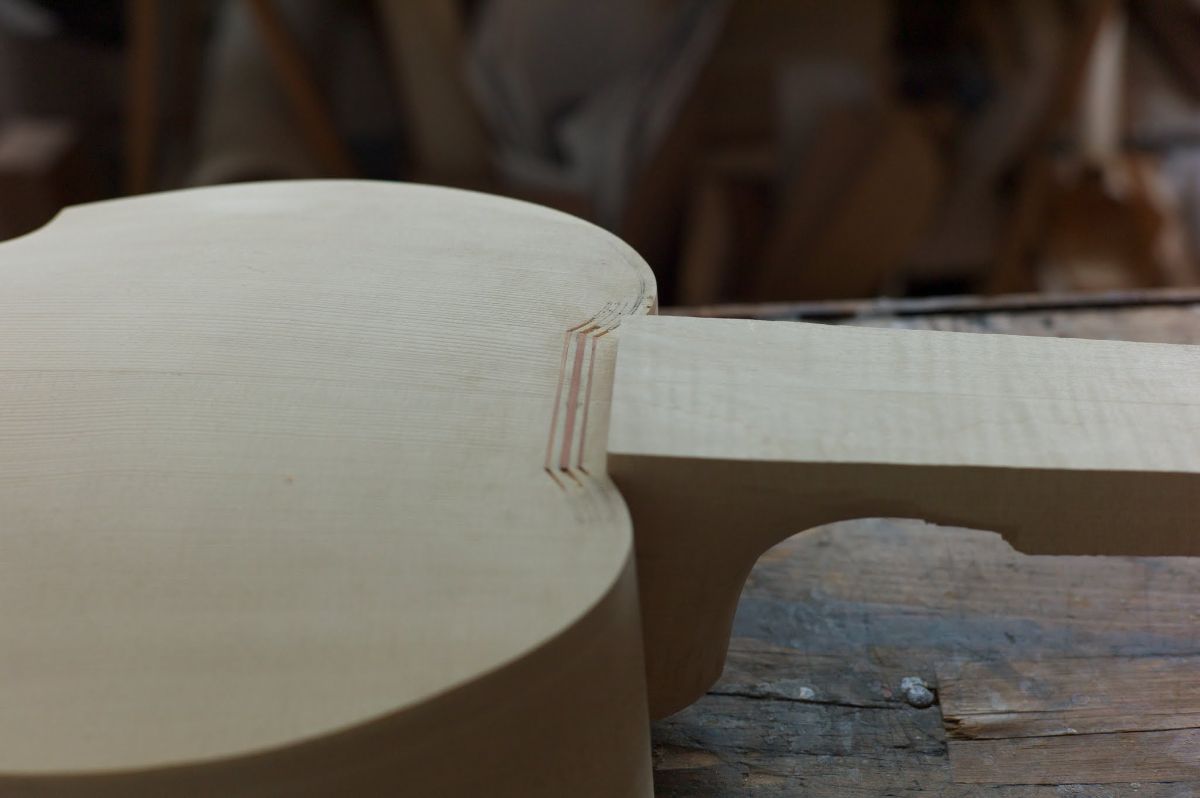
- through neck